November 21, 2018
In
Uncategorized
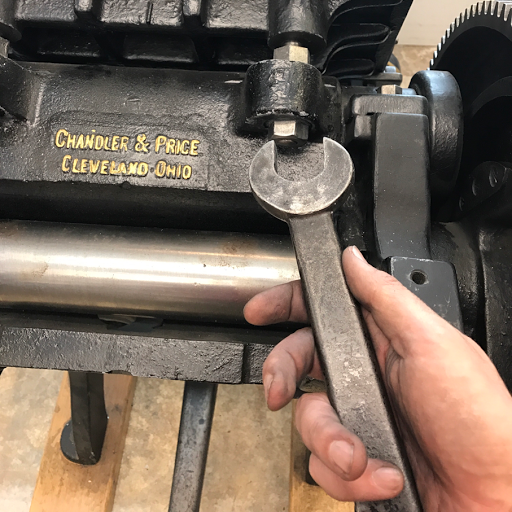
Making Paint Step 2: Grinding Stone
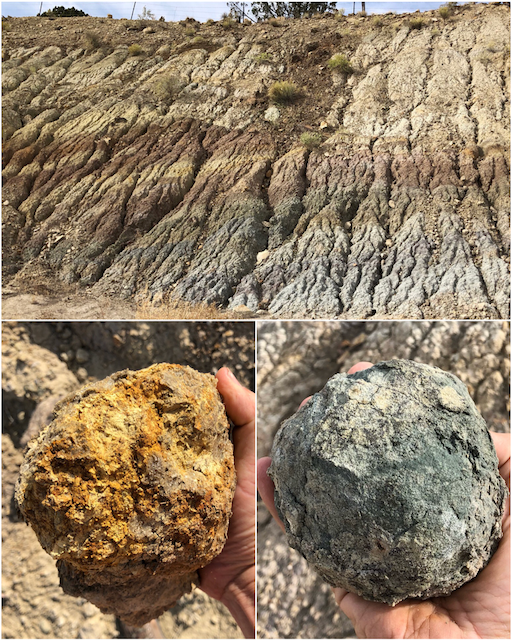
This post is part of series to show how I collect stones from the local landscape and make them into artist-quality watercolor paints. In the previous post, HERE, I showed how I find and collect the raw materials. In this post I'll show how I...